


e-tile.jpg)


E-tileE.jpg)


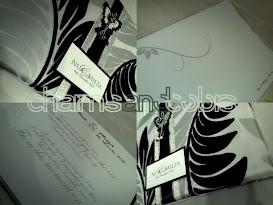
I'm so in love with this hand bouquet.
Soo, sooo in love!
Telah jatuh hati pada pandang pertamalah.
Jadi bercadang untuk gubah sendiri untuk majlis kami nanti.
Korang rasa berjaya tak?
Tapi bila fikir-fikir balik, sempat ke aku nak gubah-gubah sehari sebelum tu? Dengan sibuk nak berinai bagai, dengan touch-up barang-barang yang itu ini lagi. Lainlah kalau aku lilit2 je benda ni dah jadik.

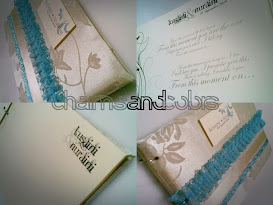
Yang ini pun sangat chantek kan.


fuh~ gile rambang mata dah nih.
.jpg)
The color of my solemnization dress would be something like this. A little darker, a little brownish here and there. And my wedding dress, the black-gold one, is something lighter than this. More to creamish-black.
To tell u the truth, I prefer roses compared to other flowers sbb roses ni macam kena je dgn apa-apa kaler baju pun kan. And lagi satu, sebab senang nak carik fresh roses walau kat ceruk mana pun ko duduk.
So, rasa2 korang la, which of the above flower bouquet suitable for me?
By the way, these are some of the useful website for those yg intend to make their own wedding bouquet.
1) http://www.favorideas.com
2) http://www.ehow.com
3) http://www.save-on-crafts.com
4) http://www.wikihow.com
5) http://www.howtodothings.com
And, these are some steps utk buat sendiri hand bouquet.
The first step of all is choosing the flowers. Making hand-tied wedding bouquets is best done with flowers with longer stems. A few examples of long stem flowers are roses, irises, and carnations to name a few. If you want to add foliage good types are camellia leaves, and eucalyptus. If you want mixed bouquet they are better using three to four kinds of flowers and foliage. You also should cut a yard of string as well.
Next you must cut the stems of the flowers at a slant and put the flowers into water. You need to remove the thorns and the foliage from the lower part of the flowers. Next lay all the flowers out on the table. You should start with the longest flower to be the center of your bouquet. You should start off from there holding the stems with your hand about 15 cm from the base of the head of the flowers. You should put the foliage all around your center flower. You must put the other flowers around that criss-crossing the stem just below where you striped the foliage from the flowers. Remember you are trying to make a fulcrum with the stems of the flowers. You should also have the flower pointing toward you not the stems. As you interlace the stems you should obviously be turning the bouquet so you can see what you are doing. You can hold the stems in place by wrapping some string around the stems, but remember to not cut it.
Once you get all your flowers in your bouquet, it is now time to add your ribbon or bow, whatever you choose to use. This is the easiest part, but you must wrap your ribbon around your bouquet a few times, depending on the size. Then you just make a bow at the end if you are not using a bow itself. This part is really self explanatory. You will need to spray the bouquet with water.
Once you have done this you will have a beautiful hand-tied bouquet. If this is for your wedding it will be just that much more special for you to know you did that for your big day.
Gudluck ya!
2 comments:
i pun wat sendiri hand bouquet 4 my e-day...xtau plak ada step2 dia..i men lilit jerk....pas ni nak wat elok2 la..biar lm sket btahan...
HARZHARUN :
tu la. kalo nak DIY mmg kena byk2 survey nih baru dpt yang the best, kan
Post a Comment